(6 down, only 25 to go)
Here's a quick tutorial on how to turn a ladies shirt into a childs skirt. Don't worry, I haven't forgotten about doing the Fabric Canvas tutorial yet.. I just haven't had time to make the canvases yet. Maybe later this week. I did this skirt over the past weekend.
This tutorial is great if a shirt doesn't fit you anymore or has a stain on it or something.


Ok so you cut out the waistband, and then sew the two ends together. I think I just confused you again. Here's a diagram...

Does that make sense? Sew those two ends together, then iron the flaps flat, and then turn it so the seam is inside. (I just realised I'm really bad at tutorials, must be why I've never tried before).
Fold your tube in half and iron it, so theres a nice definate line in the centre.

Remember your waistband is going to be bigger then the skirt. So you need to mark on the waistband and on the skirt, where the front, back & sides are. When pinning, you line up those four points. The open edges face up whilse pinning.

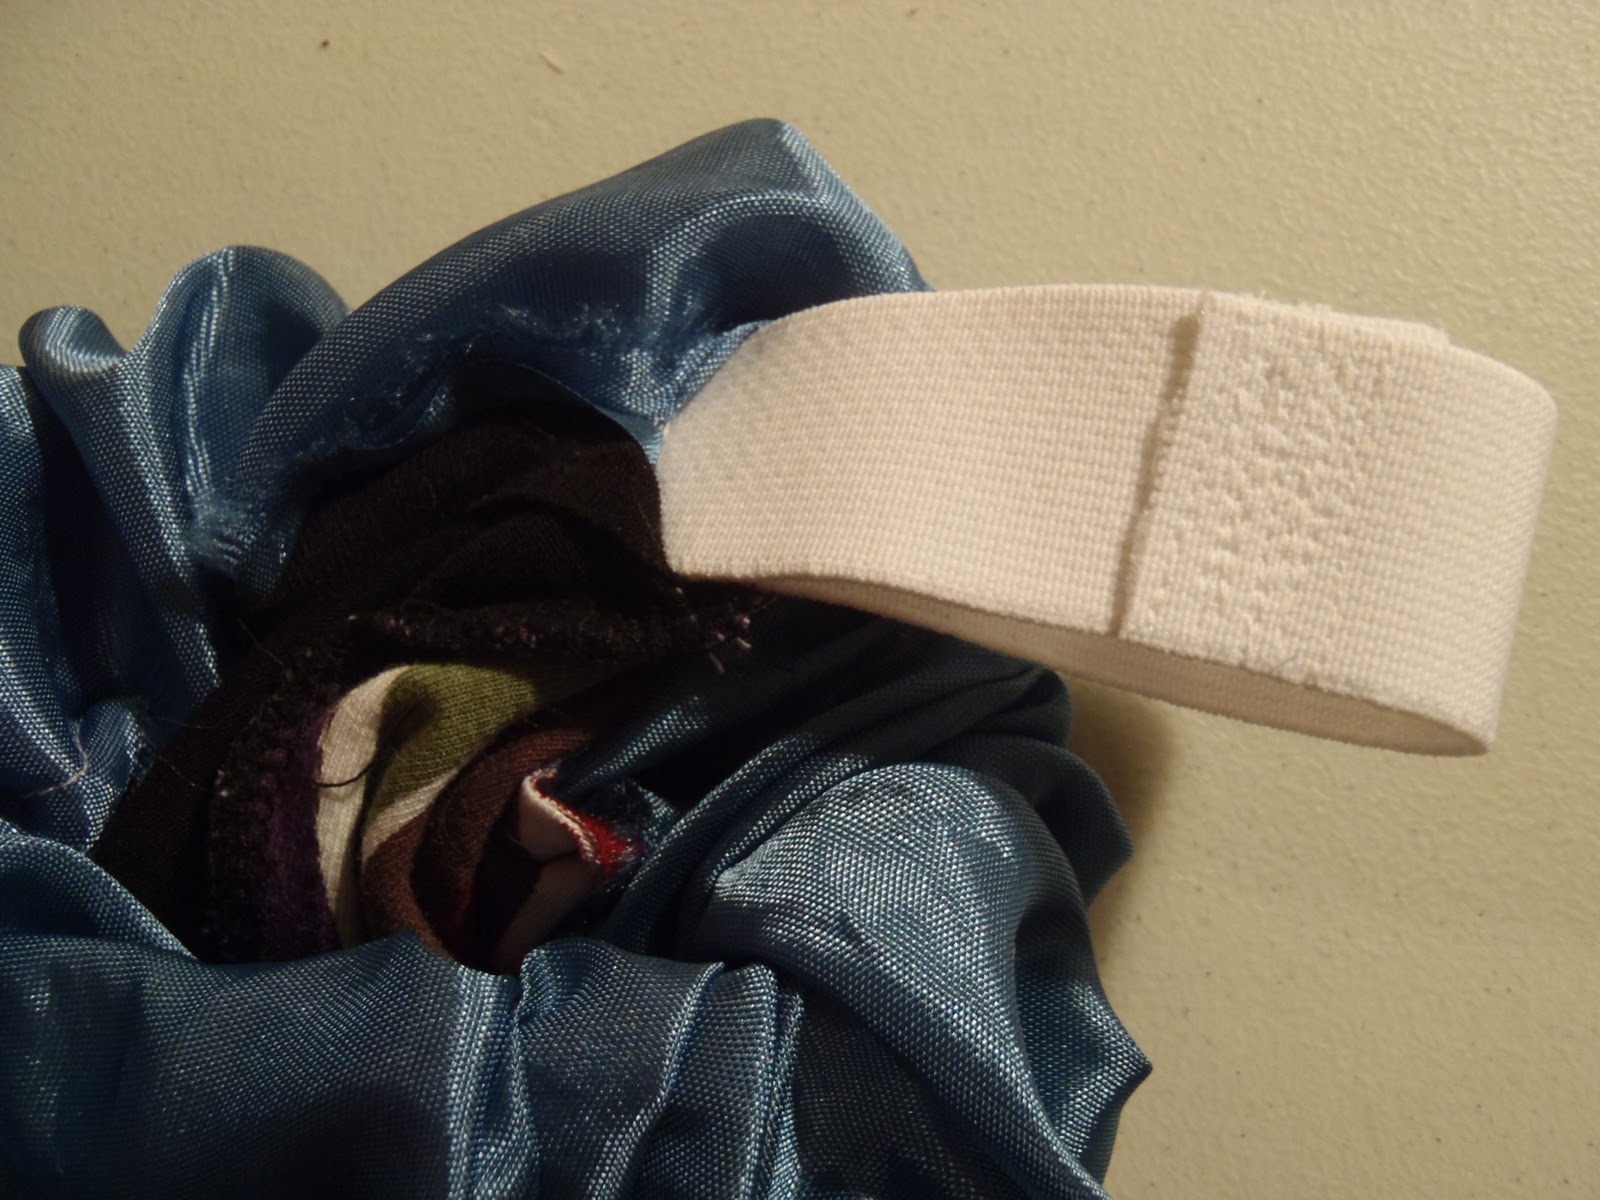
Make sure you leave a gap to thread your elastic through too!
Once you've threaded through your elastic (which you premeasure to be the perfect length for the size waist it needs to go around) - sew the two ends together. I then tuck the elastic back into the waistband and then you can sew the little opening shut.

I didn't need to worry about a hem, I just left the original hem from the shirt.
And there you have it folks. My first official horrible tutorial. I'm really going to have to work on expressing myself in a way others can understand. If you can follow what I just wrote in this tutorial, KUDOS TO YOU! You must be special :)
By my calculations this skirt is about a girls size 4.
Until tomorrow... have fun crafting!
Christy
2 comments:
Looks like a good tutorial to me, but I can't be sure since I don't sew, LOL!!! Love the skirt :)
Haha!! It is super easy, I promise!! I'm only a novice on the sewing machine!
Post a Comment